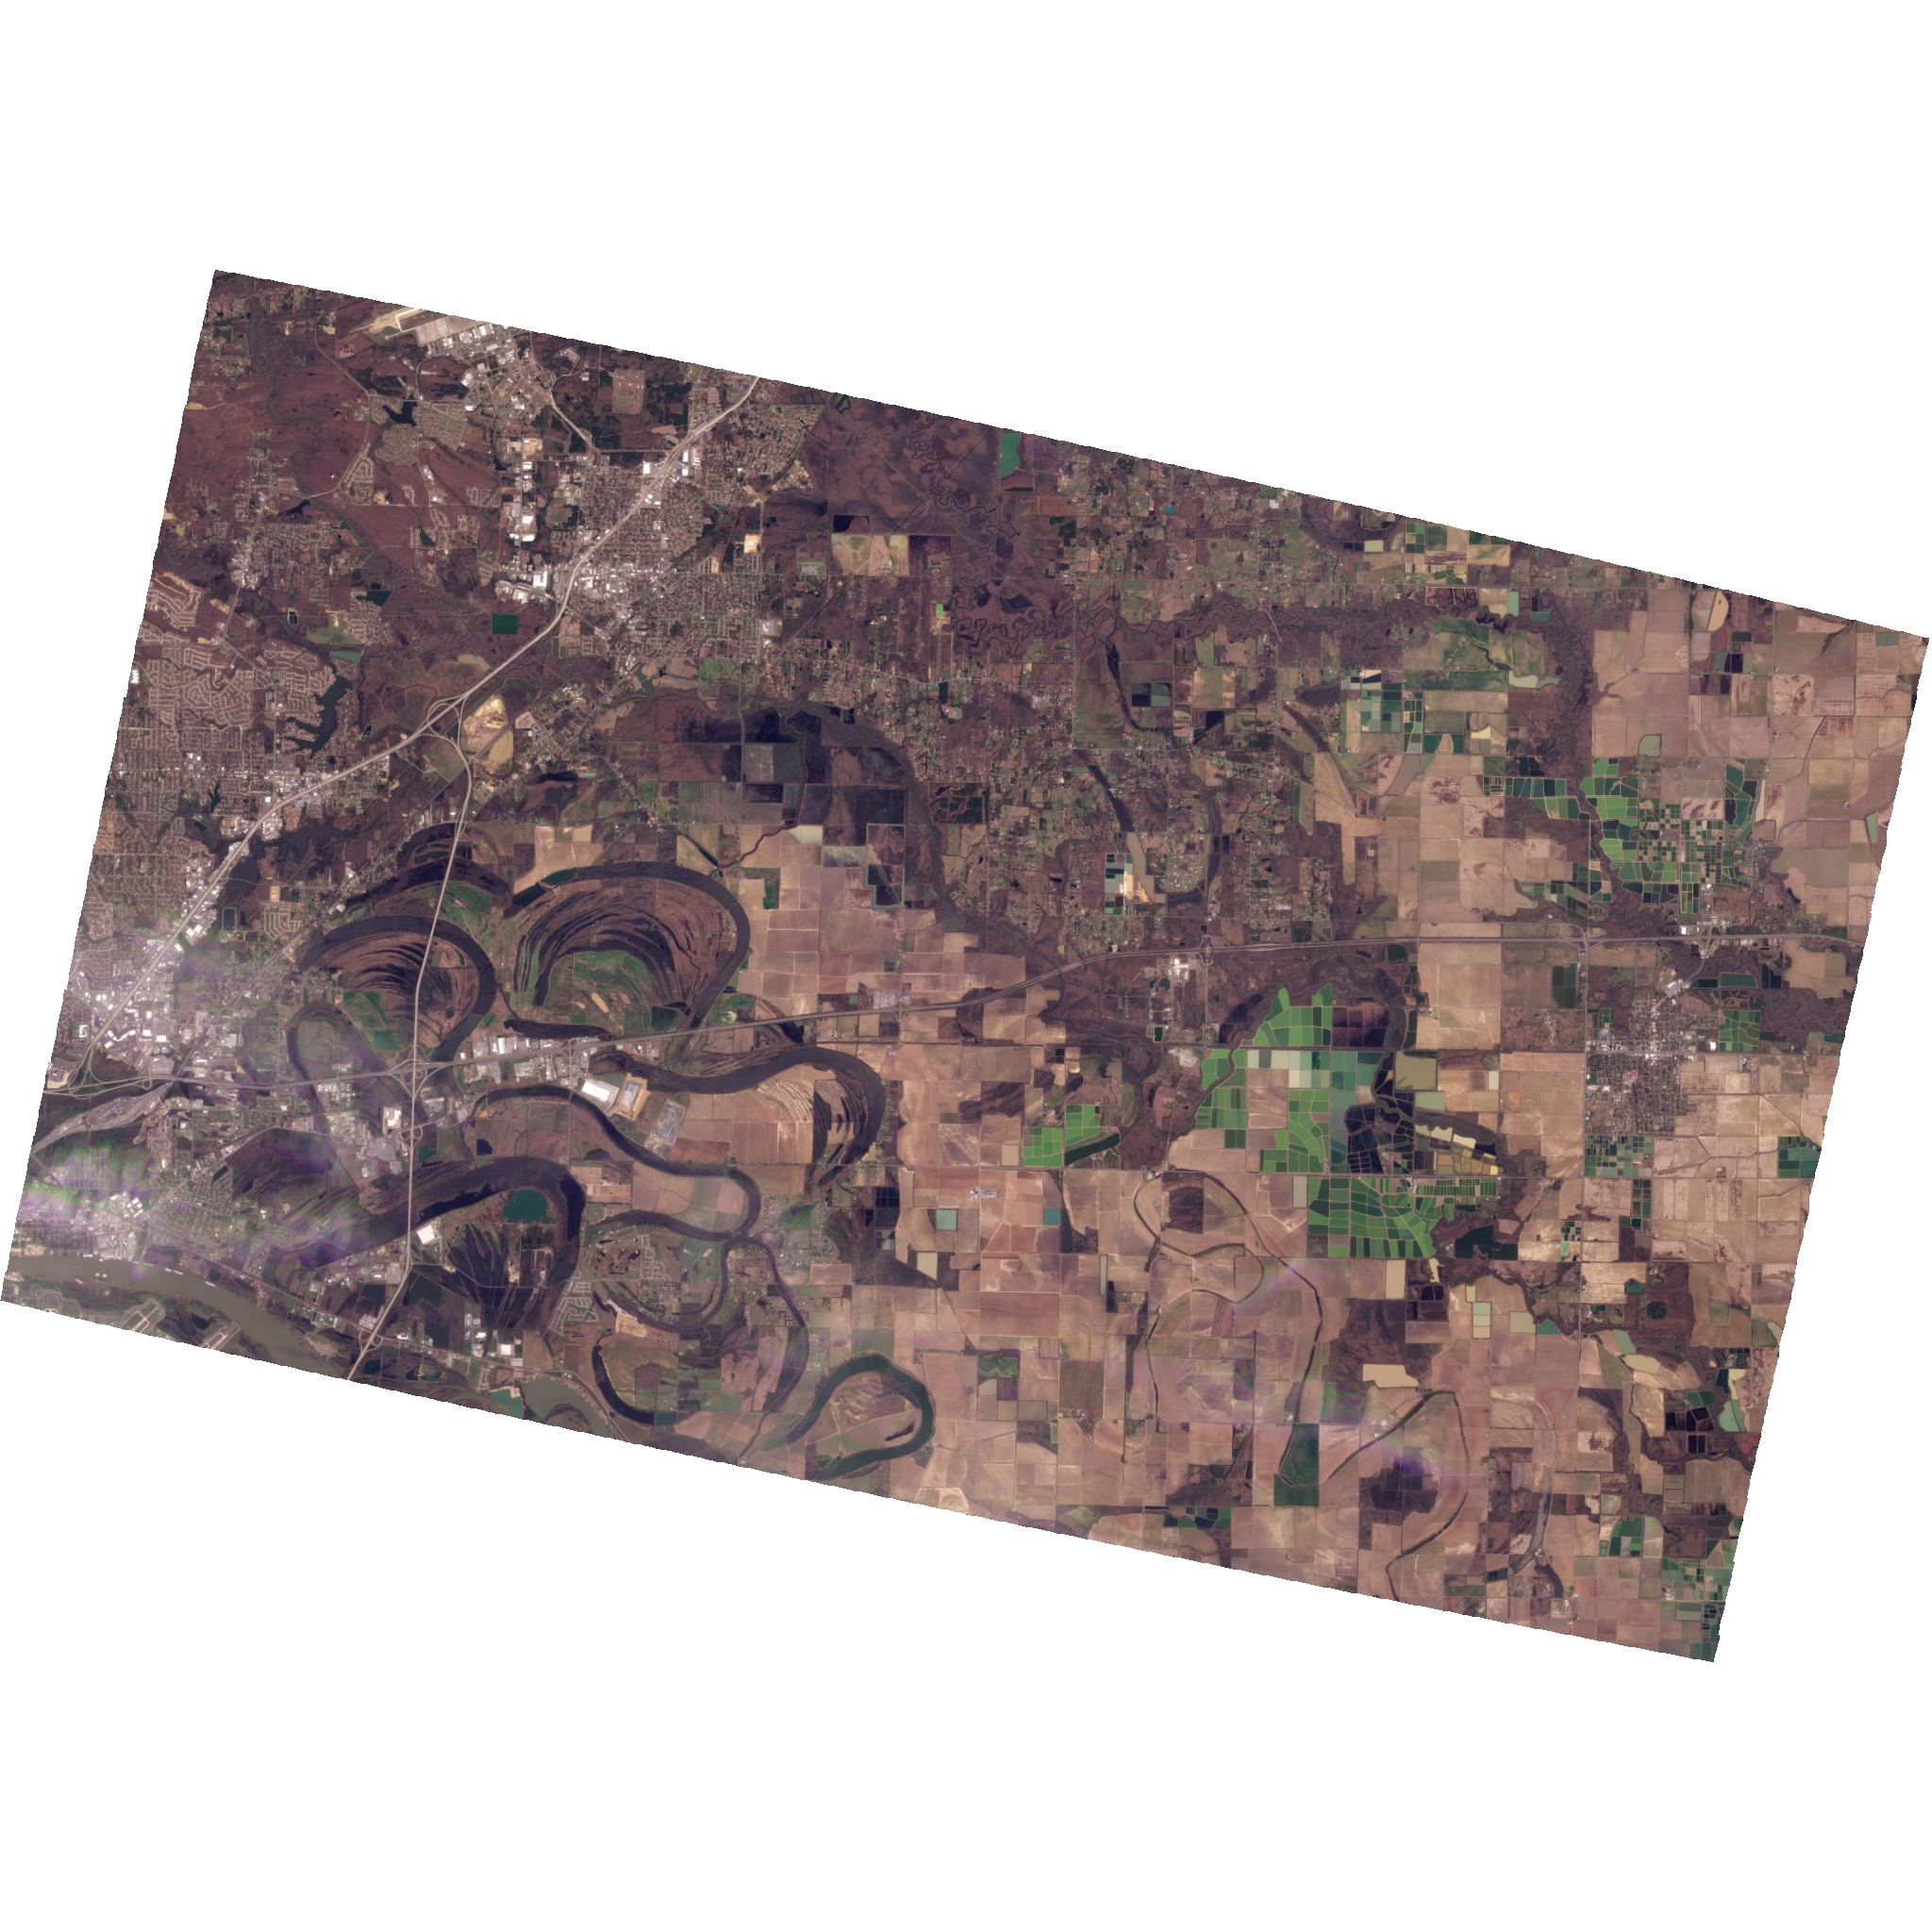
Searching for Scenes by geojson location and date range.
Step 1: Setup
Import the Data Api wrapper.
[1]:
from cast_planet import DataAPI
api = DataAPI(api_key='your-api-key-here')
Create a geometry filter for an AOI. This is using a simple bounding box.
[2]:
from cast_planet.data.filters.field import GeometryFilter

aoi_bounding_box = {
  "type": "Polygon",
  "properties": {
    "name": "Area of Interest - Arkansas River at Little Rock"
  },
  "coordinates": [
      [
        [-92.407, 34.734],
        [-92.407, 34.841],
        [-92.194, 34.841],
        [-92.194, 34.734],
        [-92.407, 34.734]
      ]
    ]
}
aoi_filter = GeometryFilter(field_name='geometry', config=aoi_bounding_box)
Create a date range filter that matches the date/times of interest.
[3]:
from cast_planet.data.filters.field import DateRangeFilter

start_time = '2023-01-01T00:00'
end_time = '2023-07-01T00:00'

date_filter = DateRangeFilter(field_name='acquired', config={'gte': start_time, 'lte': end_time})
Combine the two filters into a single ‘AndFilter’ so that all scenes must meet both criteria.
[4]:
from cast_planet.data.filters.logical import AndFilter

search_filter = AndFilter(config=[aoi_filter,date_filter])
Step 2: Use the quick_search method to find available scenes.
This returns a QuickSearchResponse model.
[5]:
response = api.quick_search(item_types=['PSScene'], search_filter=search_filter)
The ‘features’ property contains all the scenes found during the search.
[6]:
len(response.features)
[6]:
474
Step 3: [Optional] Further filter the data using the QuickSearchResponse ‘filter’ method
Define a filtering method that takes in a QuickSearchItem and returns a boolean. Here we will create method that assess whether the item meets our desired cloud cover threshold.
[7]:
from cast_planet.data.models import QuickSearchItem

def cloud_cover_filter(item: QuickSearchItem):
  return item.properties['cloud_cover'] < .10
Apply the filter. Now we have weeded out all the overly cloudy scenes.
[8]:
scenes =  response.filter(cloud_cover_filter)
len(scenes)
[8]:
276
Step 4: Retrieving a chosen scene.
[Optional]: Let’s preview the first scene returned from the search.
[9]:
api.jupyter_preview(scenes[0])

Well look at that, the Arkansas river is in the bottom left corner of our scene.
If you know what asset you want to download, you can view the available assets for an item, but looking at the ‘assets’ property
[10]:
scenes[0].assets
[10]:
['basic_analytic_4b',
 'basic_analytic_4b_rpc',
 'basic_analytic_4b_xml',
 'basic_analytic_8b',
 'basic_analytic_8b_xml',
 'basic_udm2',
 'ortho_analytic_4b',
 'ortho_analytic_4b_sr',
 'ortho_analytic_4b_xml',
 'ortho_analytic_8b',
 'ortho_analytic_8b_sr',
 'ortho_analytic_8b_xml',
 'ortho_udm2',
 'ortho_visual']
Activate the item asset. This begins the activation process on the Planet side, once the activation is complete, your asset will be available for download.
[11]:
asset =  api.activate_item_asset(scenes[0], 'ortho_visual')
asset.status.name
[11]:
'activating'
Activation may take several minutes. To check the activation status, use the ‘check_asset_status’ method.
[12]:
asset = api.check_asset_status(asset)
asset.status.name
[12]:
'active'
When the status is ‘active’, you may begin the download.
[13]:
api.download_item_asset(asset, folder='./downloaded_assets')
./downloaded_assets/20230315_162945_13_2474_3B_Visual.tif: 100%|##########| 246M/246M [00:09<00:00, 27.2MB/s]
[13]:
'./downloaded_assets/20230315_162945_13_2474_3B_Visual.tif'
Congratulations! You have successfully used the cast_planet python api to access the Planet DataAPI. Happy Researching!